How it works
Four things, in order.
Install it, shoot, record the screen when you need to, and find everything afterwards where you would look for it.
- TIME LAPSE
- SLO-MO
- PHOTO
- PORTRAIT
- VIDEO
- CINEMATIC
01
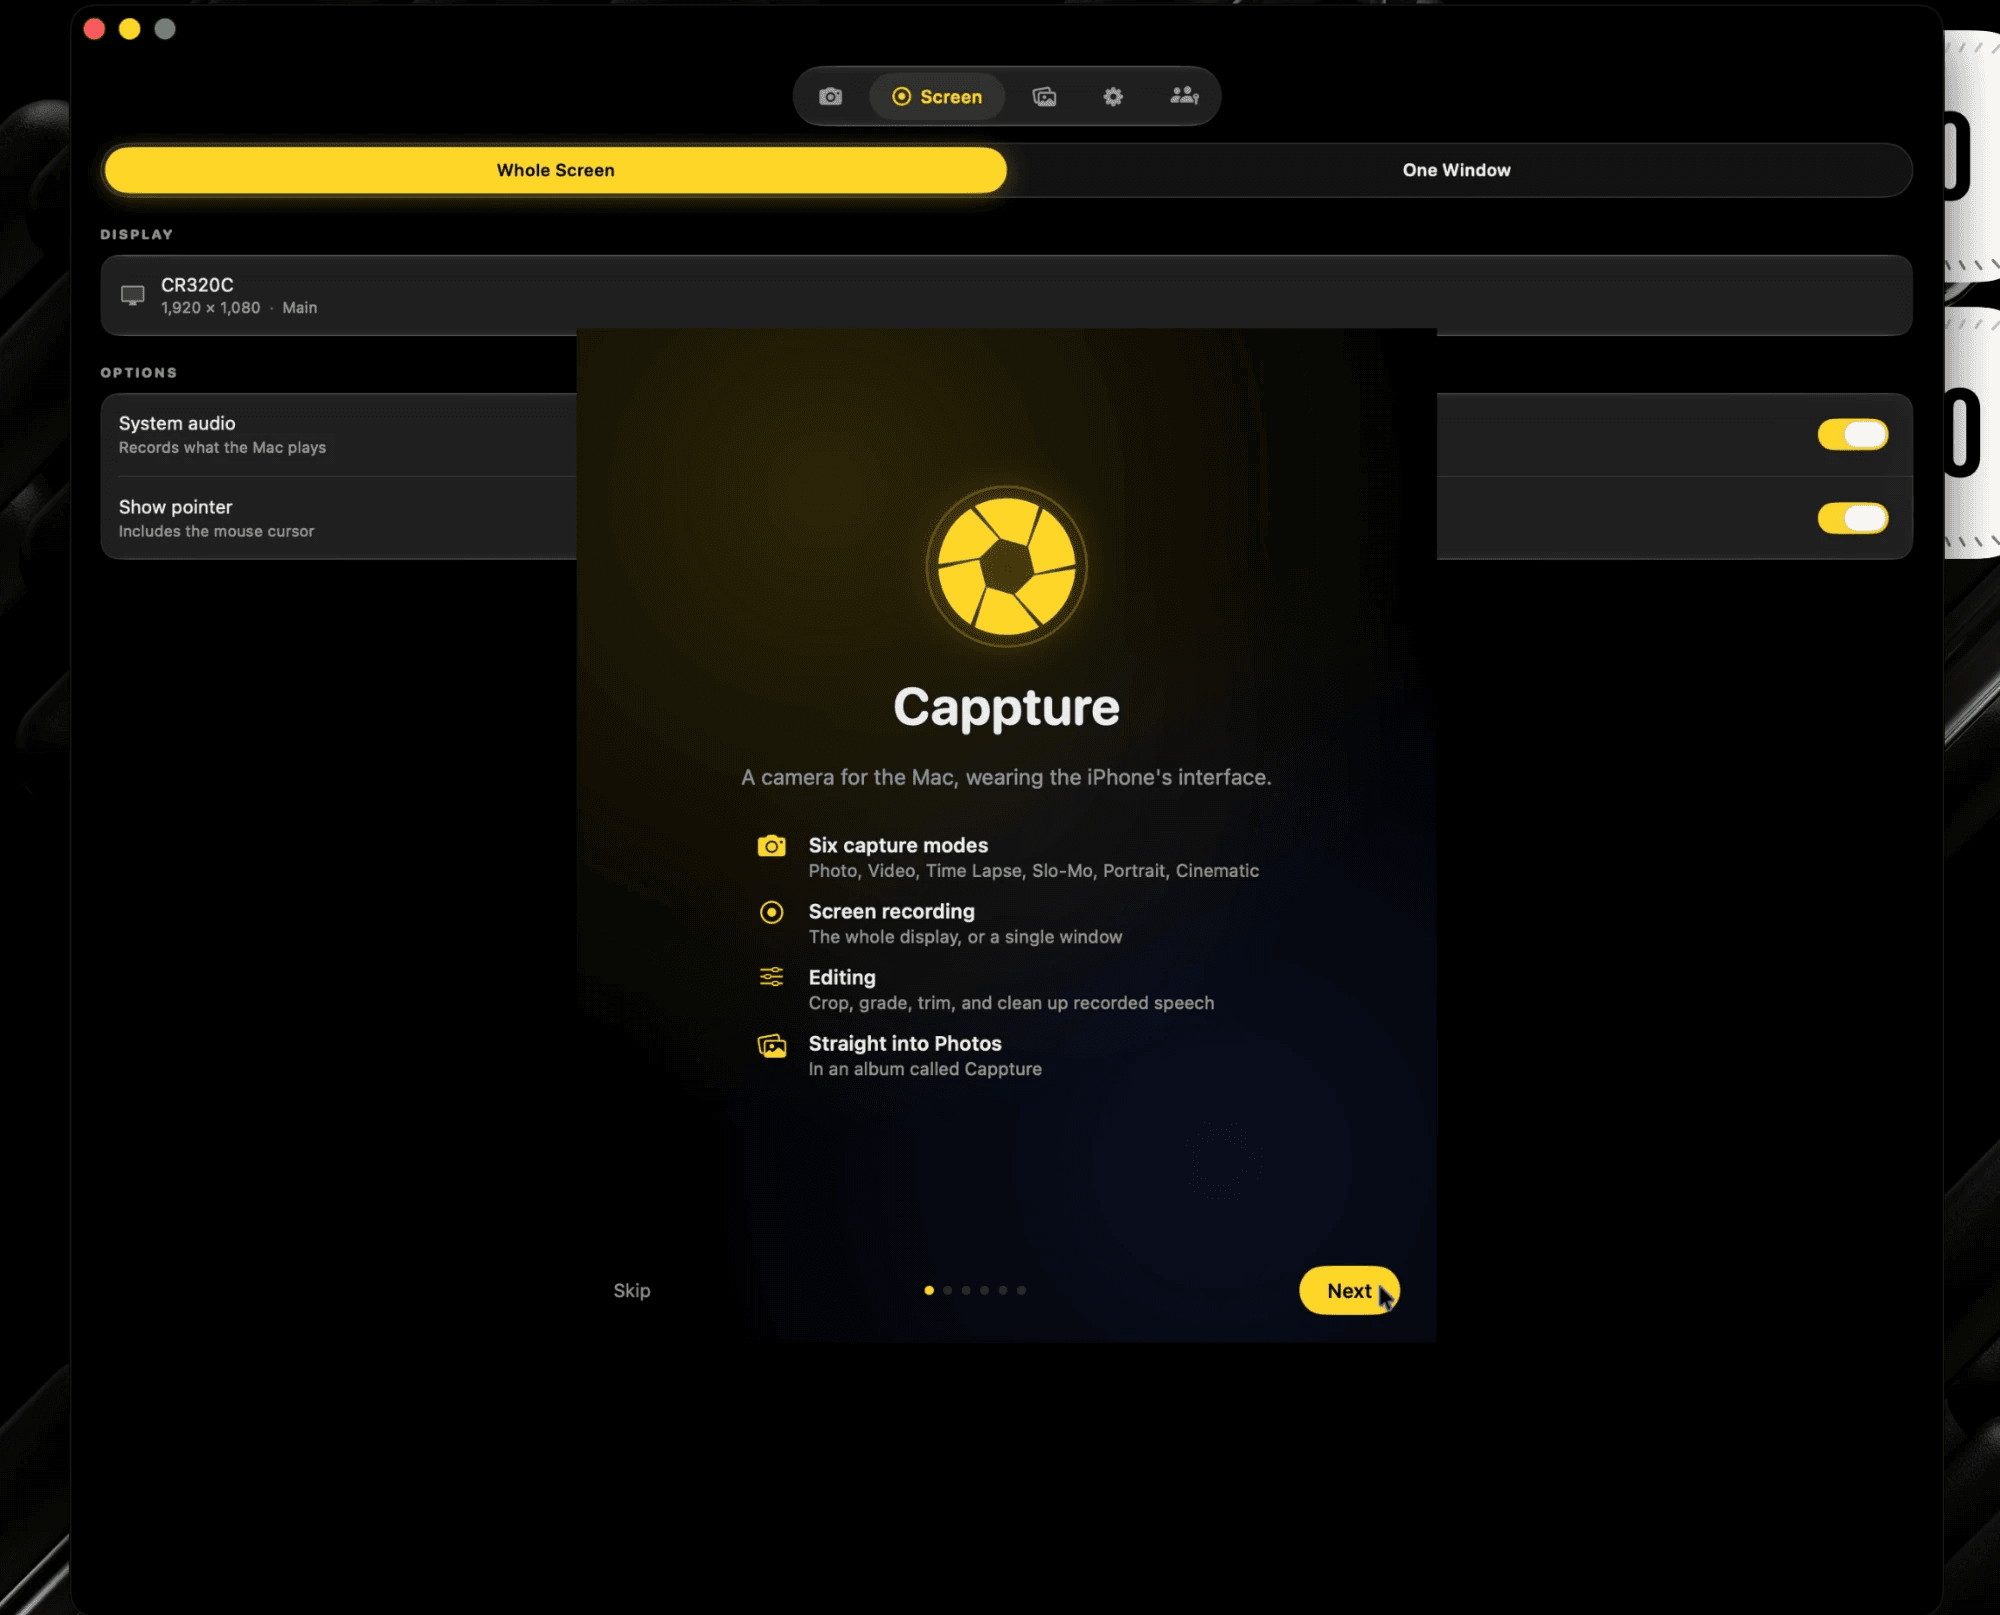
Install it
One line in Homebrew, or the disk image from the releases page. The cask clears the quarantine flag for you, so there is no right-click dance and no trip through Privacy & Security.
- brew install --cask yusufdiallo1/tap/cappture
- Or download the DMG and drag Cappture to Applications.
- macOS 14 or newer, on Apple silicon.
02
Shoot
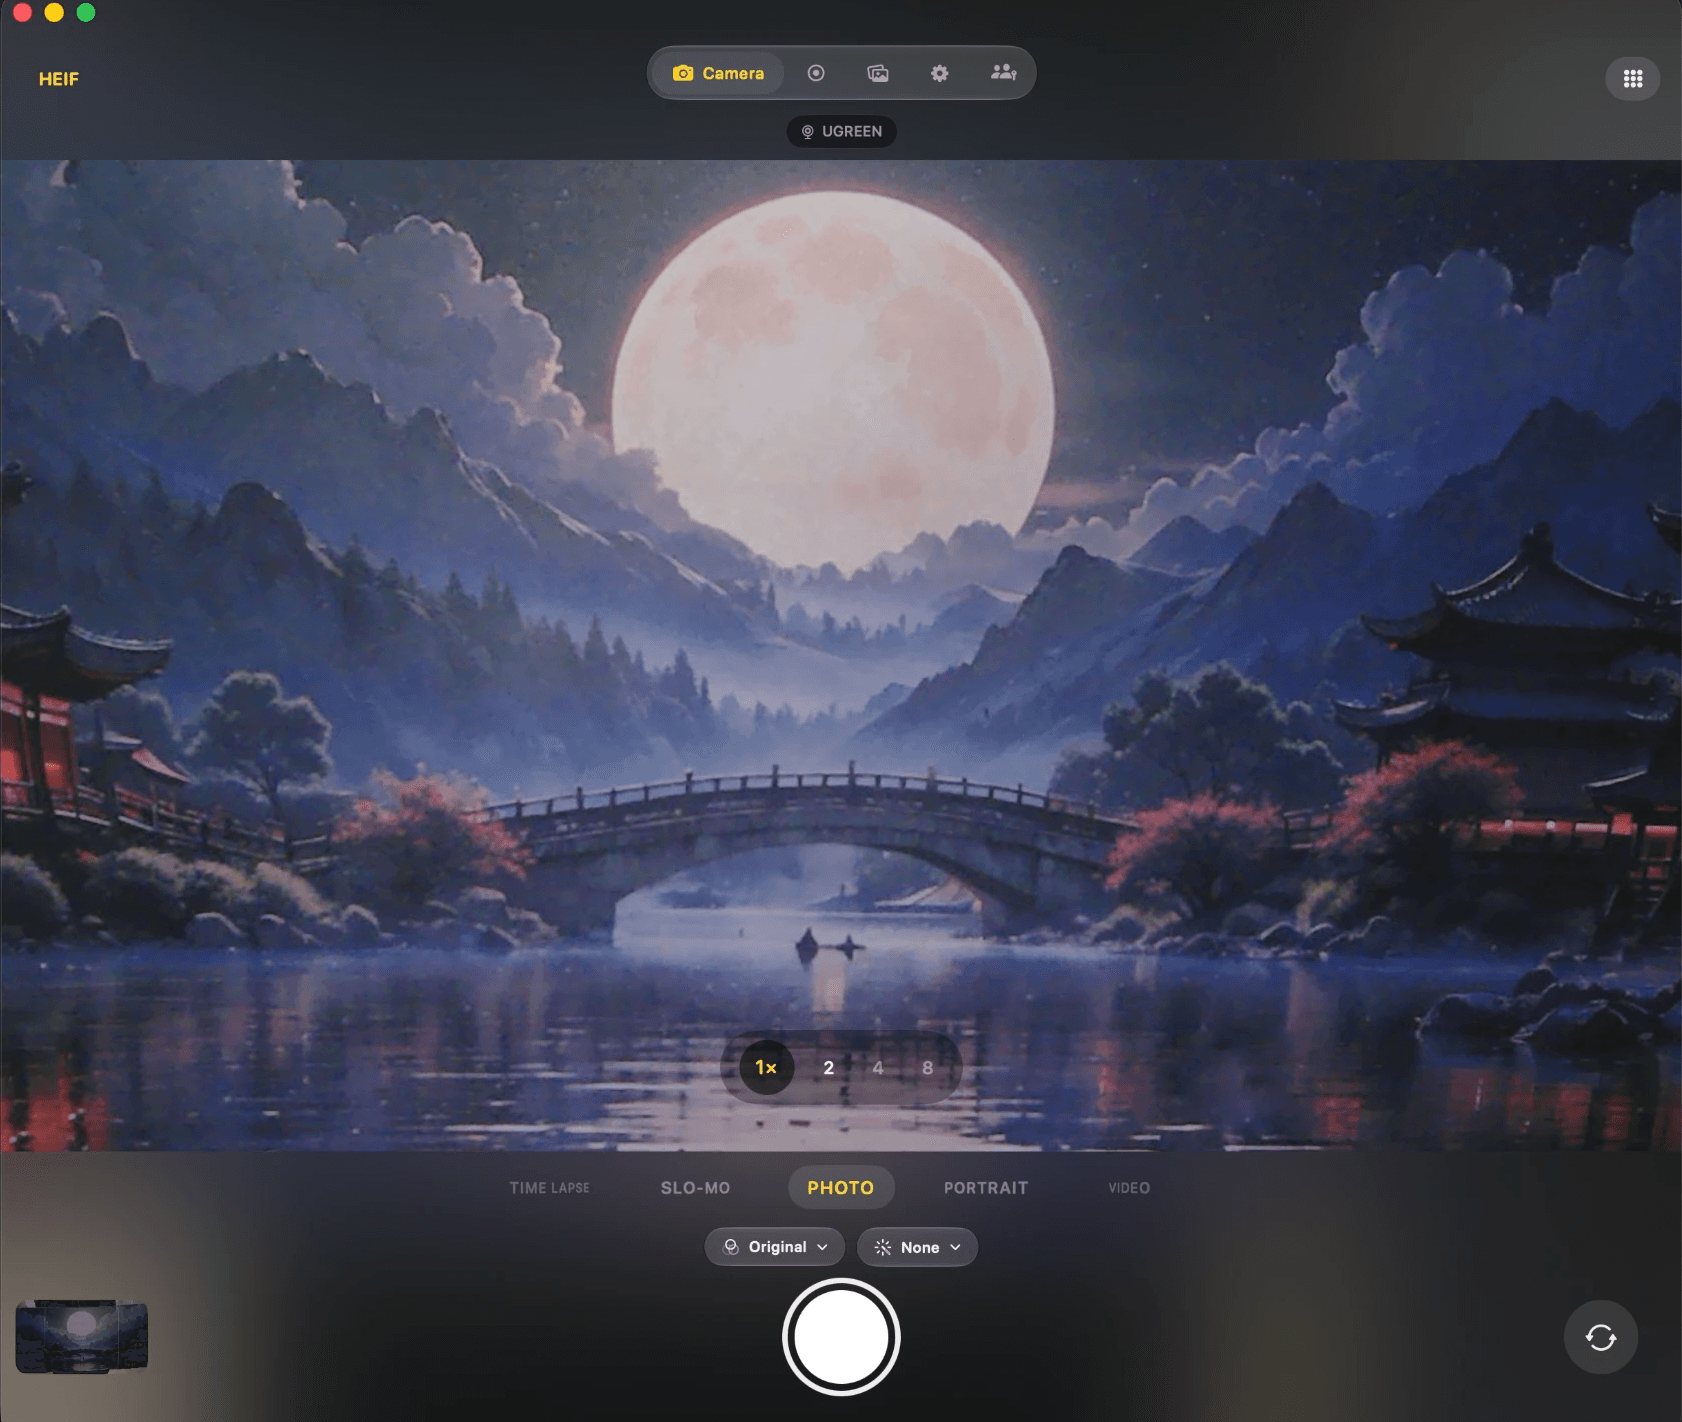
The mode carousel from the iPhone, on your Mac. Portrait and Cinematic separate you from the background live, while you shoot — not as something applied afterwards.
- Six modes, switched from the carousel.
- iOS filters applied in the viewfinder, not after.
- Burst from ten to a hundred and twenty frames.
- A timer, a grid, a level, and exposure on a slider.
03
Record the screen
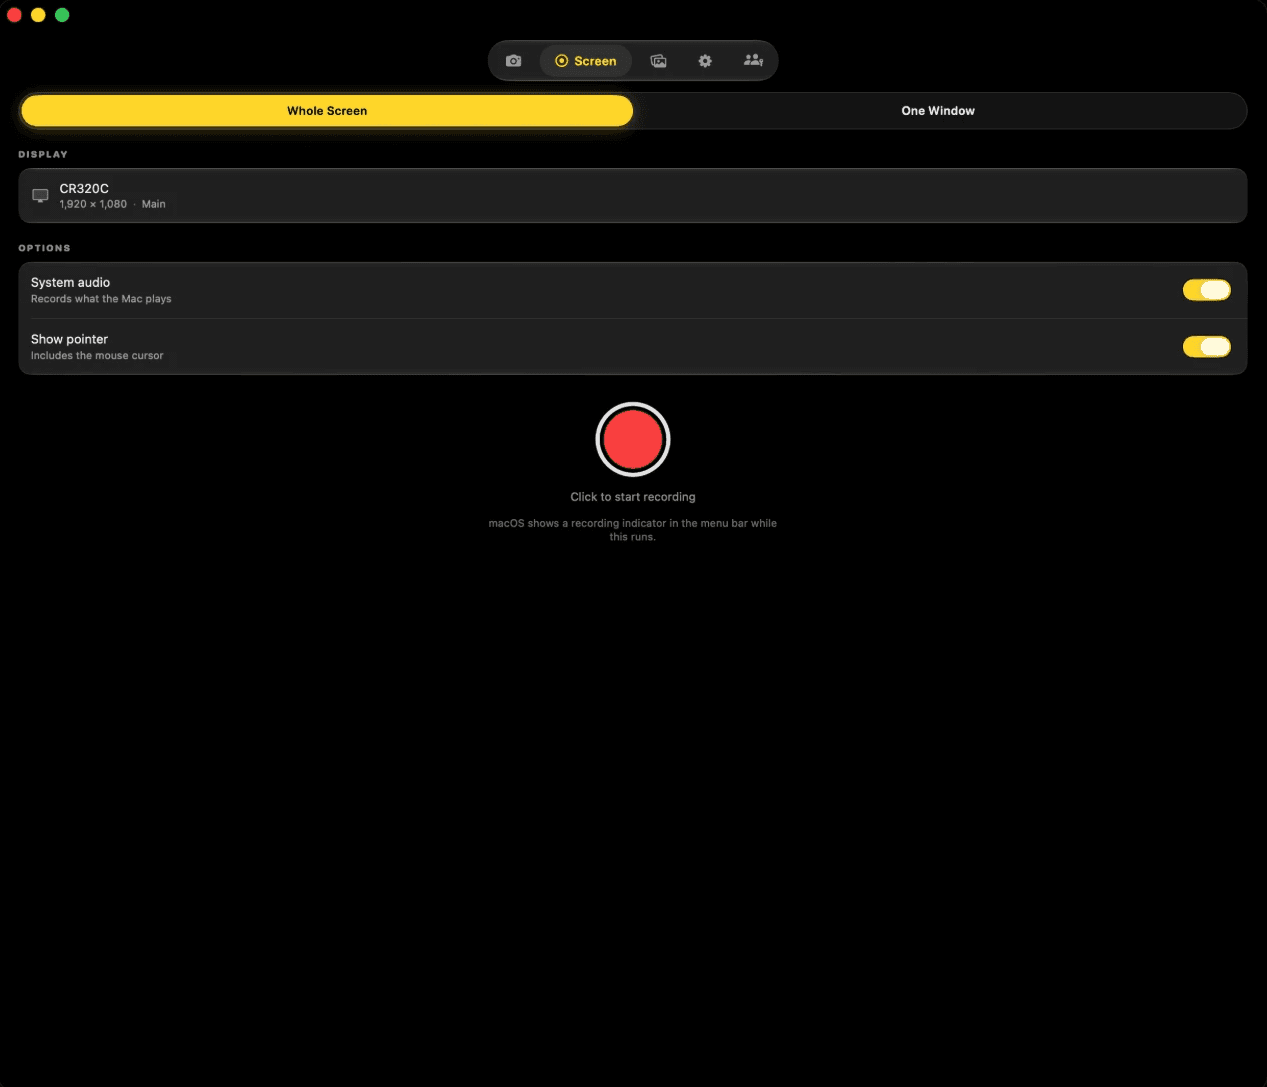
The whole display or a single window, with system audio and the pointer if you want them. It is a camera app that also records what the Mac is doing.
- Whole screen, or one window.
- System audio, so what the Mac plays is in the recording.
- macOS shows its own recording indicator throughout.
04
Keep it
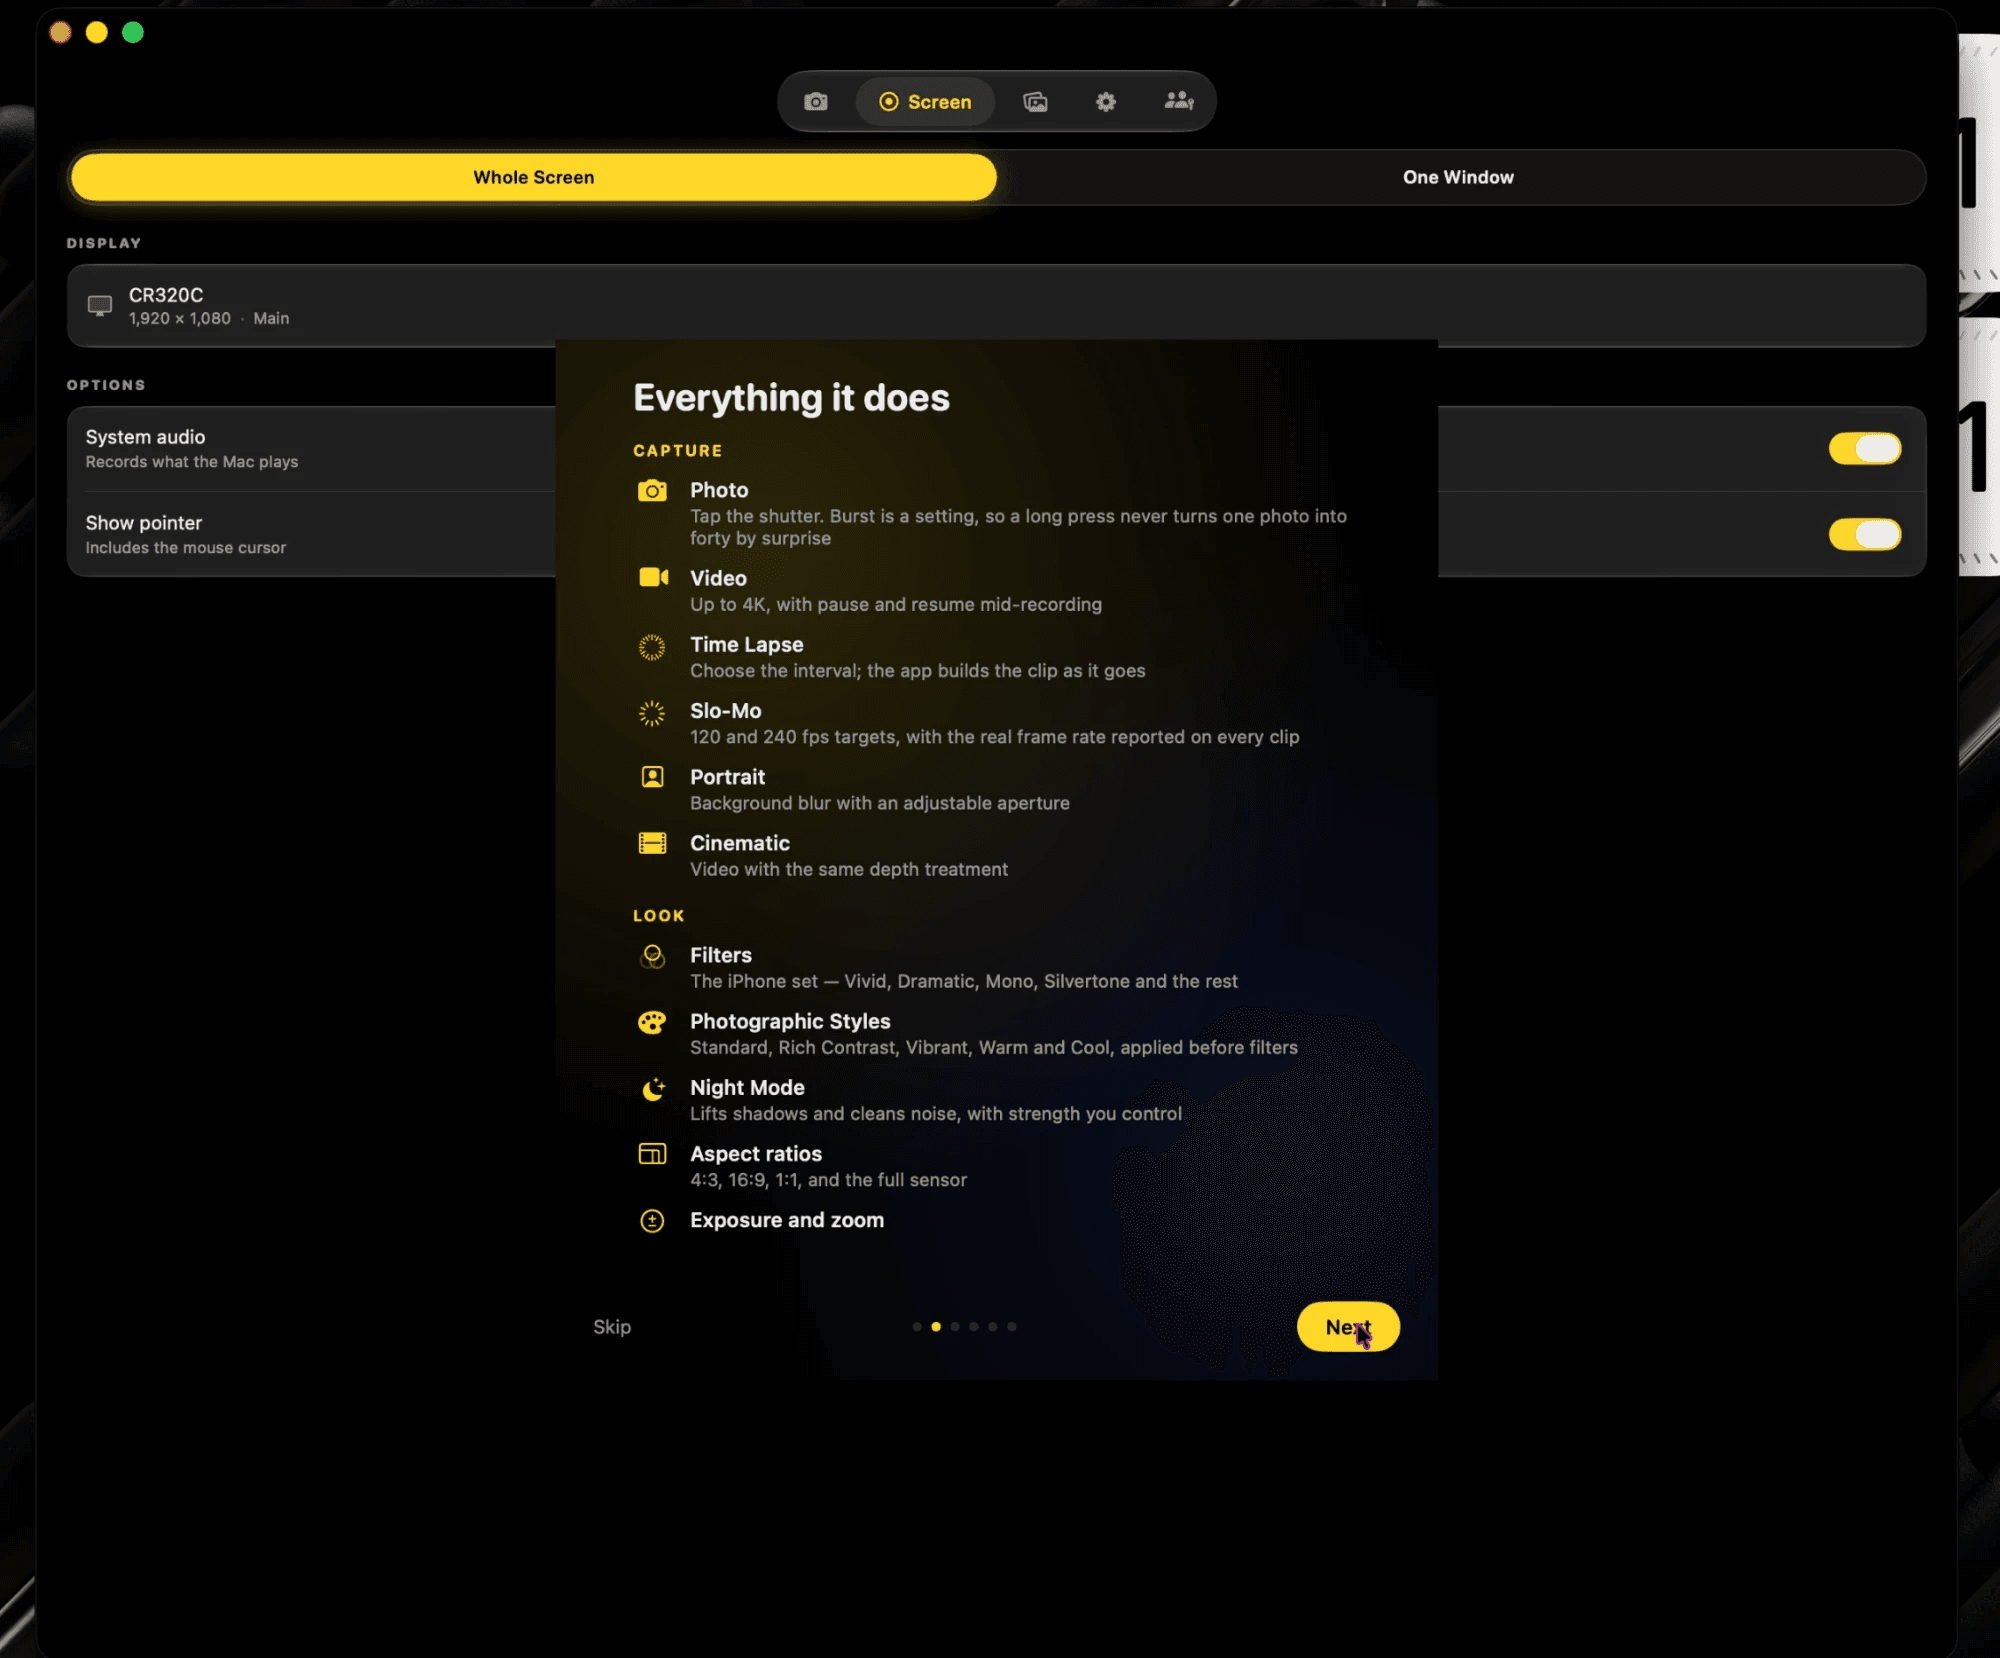
Every capture lands in the app's library, where you can scroll it, and reaches Photos as you shoot. Nothing is buried inside a package you have to know the name of.
- A library inside the app.
- Sent to Photos as you shoot.
- Recently Deleted holds anything you remove for thirty days, with Put Back.
Seven days free, then $19.99 once.
No card to start the trial. One licence covers five Macs, and your photos never leave your machine.
See pricing